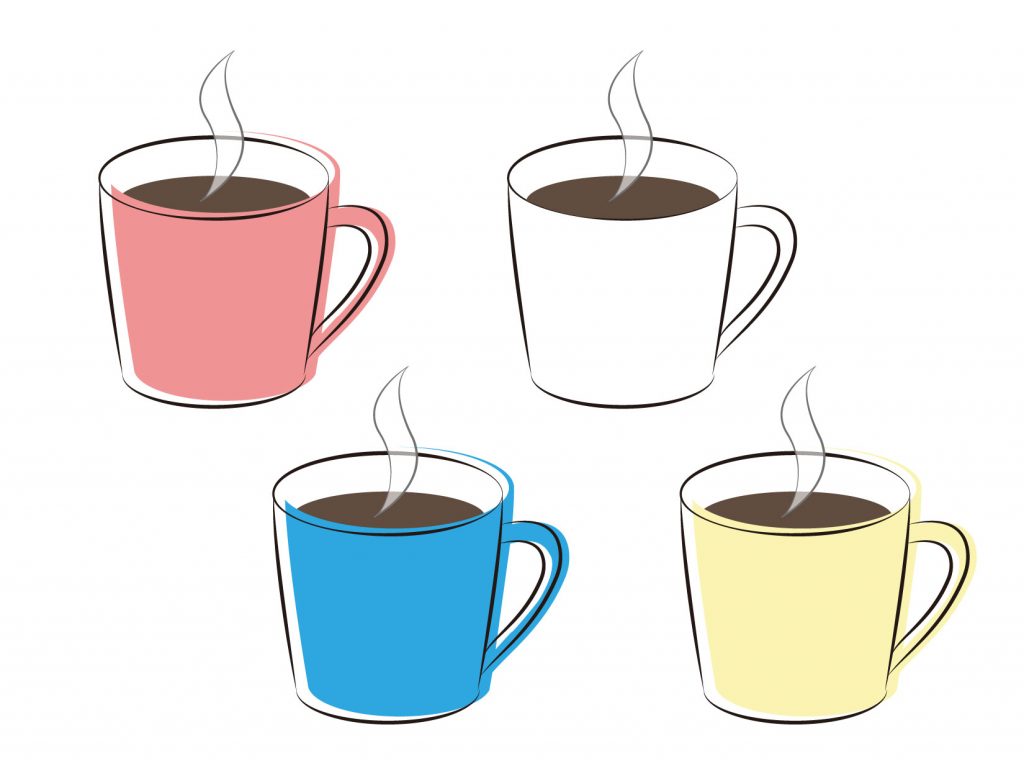
How to make a mug template: Mugs are a common sight in our daily lives. They make it possible for us to enjoy the majority of our favorite everyday beverages, ranging from hot tea and coffee to cold milk and iced tea. Is it possible to make an experience even more pleasurable when drinking from our very own custom-designed mug? Yes, we certainly can. It’s usually more entertaining to utilize a brightly colored mug than a plain white one. In addition, it will make a lovely addition to the kitchen’s decor. So let’s go to work on our mug design!
What Is The Benefit Of Using Vector-Based Images? How To Make A Mug Template Using Vector Images
The quality of vector-based pictures in graphic designs is the primary advantage of using them. It is possible to scale up a vector image to any size without losing quality since a vector image is not dependent on the pixels of the display. This was in contrast to a raster image, which is dependent on the number of pixels in the image. As a result, when you scale up the PNG or JPEG file, the pixels will become apparent and an image will become hazy.
As a result, vector pictures are ideal for usage in printed materials. Enormous banners, automobiles, apparel, and large screens such as electronic billboards may all be accommodated without any reduction in image quality. They are able to do this due to the fact that the colours and shapes are generally straightforward. Because of this, vector files are ideal for logos, fonts, and other aesthetic artwork, but raster files are better suited for pictures and detailed images.
Because vector files are used to make advertisements, and the finished image is itself a vector image, the files may be blown up to the billboard and yet retain clean, clear lines & text that looks wonderful. If the same thing was performed with raster files, the result would be hazy and jumbled. This is not a good thing for the design industry. When it comes to logos and fonts, designers prefer to work with a source file – the original vector file – rather than the finalized versions. Editing, adapting, and scaling them up are all possible without compromising the final product’s quality or integrity.
Begin By Sketching: How To Make A Mug Template
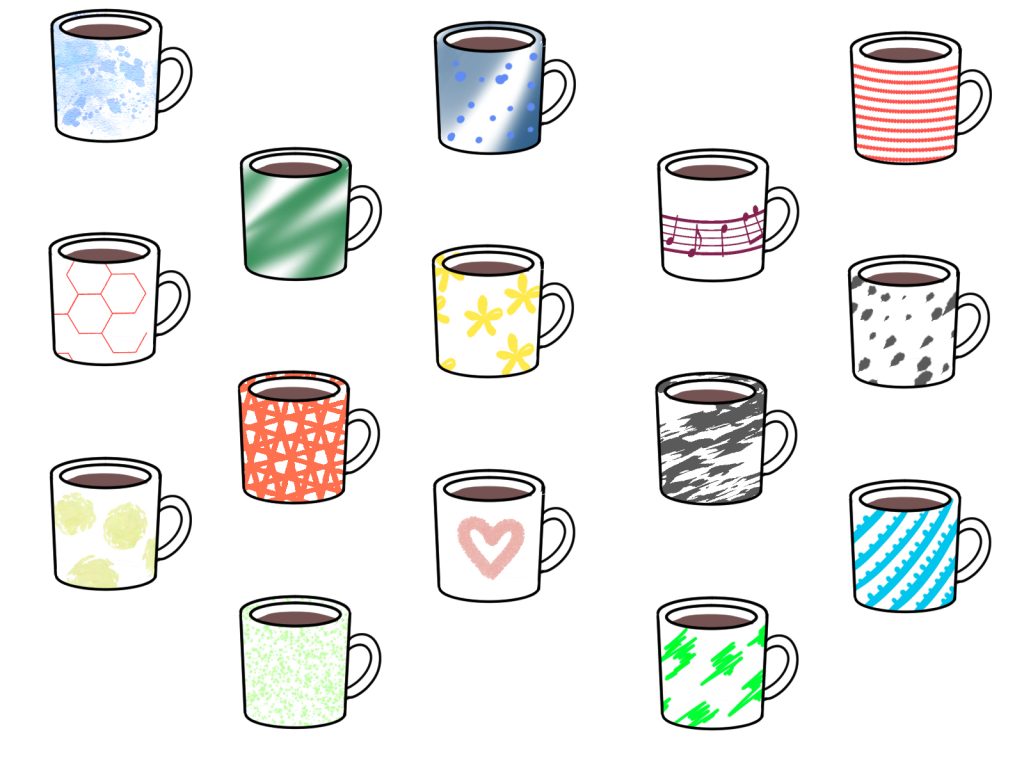
How To Make A Mug Template: Come on, let’s draw a cartoon with some amusing monsters to cheer up our dreary mornings together. Considering that the vast majority of blank printable mugs were white, let’s take advantage of this by creating a bright and cheery illustration on a white background. We can also add a little banner to the middle of the bottom of the mugs where you could write your name so that everyone knows it’s your cup (including siblings, roommates, and co-workers). In this example, I’m using a pen tablet, but you could simply make your sketch on a piece of paper and scan it before importing it into Illustrator.
For our illustrations, you chose five different colors. They may appear insignificant now, but later on, when we add minute details, you’ll be grateful that we didn’t include additional colors.
Start tracing right away! We’ll trace the design we drew using the Pen Tool, shape by shape, with the help of the Pen Tool. For a newbie, it will take some time and patience, as well as some anxieties, but believe me when I say that it will be worthwhile when you see end outcome. Make an effort not to include too many anchor points. Your lines would be smooth and appealing as a result of this technique.
You should pay close attention when you’re tracing the alphabet letters. We want them to be readable, so make sure you follow the sketch’s course as closely as possible. You can reduce stroke weights to 0.5 points to make the image more visible.
Once you’re finished, you may remove the sketch layers and double-check your traced design. Check to see that all pathways have been closed. The following is how your drawing should appear.
How To Make A Mug template: Make Your Design Pop With Color
How to make a mug template: Let’s have a peek at how the mug monsters would appear in color. Due to the fact that we already have a color palette in our sketch, we can reuse those colours. My color palette consists of five different hues. Please note that while showing the colors in CMYK %, you are free to use any color you like. You can create a small colored box next to the artboard so that you can quickly distinguish between them.
To begin, select the bodies of each monster and color them in accordance with the sketch. Because we have a five-color pallet, it should be a piece of cake. Simply select the desired body shape and, using the Eyedropper Tool, choose a desirable color from our palette or from the Swatches panel to complete the look.
The fact that we now have colorful bodies makes it a lot less difficult to continue coloring. We’ll move on to coloring the horns and aw pupils of their eyes. We’ll choose dark grey (90 percent) so that we don’t end up with an entirely black drawing, and the illustration will have a retro vibe to it.
Now it’s time to color their legs — we could use the same color as a body for the feet, and we can use any other color from our five-color palette for the rest of their bodies. In the same way that those ancient cartoons showed their hand in outline, we’ll leave their hands-on outline as well.
Apply light color to the front portion of your hair, darker color to the back section, and the deepest color to the middle area of your hair. In this approach, we’ll be able to achieve the appropriate perspective & depth in the 2D artwork. For the lettering, we’re utilizing a dark grey (90 percent grey) as a base color.
Add Details: How To Make A Mug Template
The following is how our illustration should look. However, there is still a lot of empty space! Now let’s strew some confetti-like shapes across it!
Draw 4 simple triangles and 4 simple circles outside of the artboard with the pen tool to indicate their locations. Fill in the blanks with some of the colors from our color scheme.
Now, using the paste and copy command, duplicate them as many times as you want, say five times total. You now have a large amount of the vector confetti to scatter about our creatures.
Begin by placing the triangles and circles around the monsters in a random fashion.
Don’t stop until you’ve filled in the majority of the empty space. It should look like this when you finish your illustration! It’s amazing how a few basic, brightly colored shapes can completely transform a drawing!
Shapes Can Be Given A Subtle Texture By Applying It: How To Make A Mug Template Using Vector Images
Let’s finish off by adding a subtle outline texture to the monsters as a final finishing touch. It won’t be obvious at first glance, but it will lend a touch of nostalgic charm to the overall look of the piece.
Sit Back And Relax, You’re Done!
How to make a mug template: And with that, we’re done! Our illustration is complete and ready to be printed. Take it to the local print shops and have it made into your very own one-of-a-kind mug!
I do, however, have one very crucial piece of advice before you head off to a print shop: never, ever wash printed mugs in the dishwashing machine. The print would fade with time, and it may eventually come off. Hand-washing is the only way to go. Take pleasure in your coffee!
How Do Vector Images Work: How To Make A Mug Template
How to make a mug template: The primary distinction between vector images and raster images is the method through which they are created. A vector image is composed of 2D points which were connected by straight curves or lines, and the resulting image is typically shaped like a strong geometric shape such as a square, pentagon, rectangle, oval, triangle, or a combination of all of these shapes. Vector images are also used in computer graphics.
In contrast to a display monitor’s square pixel, the visuals are created up of lines that are based on mathematical calculations, rather than square pixels. Points are used to represent this information in a computer’s interpretation. In contrast to a number of dots, an image was made up of points that are connected by lines, which can be straight or curved and are not based on a number of points.
A vector picture does not depend on the resolution of a device that is rendering it, like a printer or a display, in order to function properly. The images will always show as intended, regardless of the screen resolution used.
What Is Vector Art: How To Make A Mug Template
Vector graphics: Vector art is the technical word that refers to the application of mathematical procedures to create graphics and illustrations. With vector graphics, you may simply scale, edit, or resize a picture without sacrificing the image’s quality or resolution.
4 Common Applications For Royalty Free Vector Art
Royalty free: The ability to enlarge a vector graphic without sacrificing quality makes vector illustrations helpful in a variety of applications, such as:
Logo design: Logos are frequently used in a variety of applications, like on business cards, products, and other branded merchandise. A vector logo enables the picture to be used on templates while maintaining its consistency and quality.
For T-shirts and other clothes, vectorized pictures are ideal for publishing images on hats or T-shirts which will be available in a variety of different sizes and colors.
Posters and Billboards: Businesses will frequently utilize vector graphics for physical marketing materials, such as billboards and posters, because they need to be printed in a variety of sizes.
Typography: Graphic designers could develop their own bespoke typography as vector files, which allows the letters to scale up or down in size while maintaining image quality and clarity.
What Method Is Used To Print Mugs: How To Make A Mug Template Using Vector Images
Clipart: Your design is produced using dye-sublimation inks on transfer paper in an inkjet printer. The image on paper is printed in reverse, then the paper was wrapped around the mug to create a mirrored image. When pressure and heat are applied to transfer an image to the cup, the ink is combined with the coating, and the image becomes a permanent part of the mug.
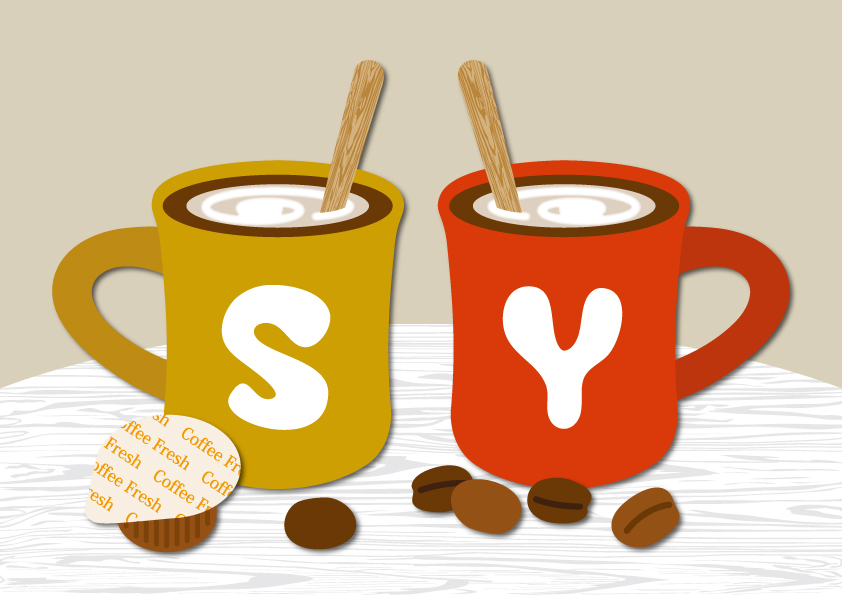
Designing a Beautiful Mug is a simple process.
How to make a mug template: A decent cup may make a bad morning a bit better, or it might bring a tiny smile to your face in the middle of the afternoon. Designing a personalized mug is quite simple, and we’ll walk you through the process step-by-step so that you can confidently design an on-trend mug in no time at all!
Coffee Mug With A Clipart Classic Design
In our opinion, our Classic Coffee Mugs is the gold standard of ceramic mugs, holding 11 ounces of liquid and being made of ceramic. Because it is safe to use in the microwave and dishwasher, it is likely to become a household favorite in your neighborhood. It is possible to have your design printed over the back and front of the cup. Each printable area measures 3.75 inches in height by 3.25 inches in circumference.
Ceramic Mug With A Two-Tone Finish
Two-Tone Ceramic Mug, 11 oz., adds a burst of color to the mix with its white body & matching color-accented interior & C-curve handle, which is a modern take on a classic design. This mug is also safe to use in the microwave and dishwasher, and you can have a custom design printed on both the back and front of the cup. Each printable area measures 3.75 inches in height by 3.25 inches in circumference.
Coffee Mug With A Big Mouth
How To Make A Mug Template Using Vector Images: When 11-ounce cups aren’t quite enough for your needs, this 15-ounce Large Coffee Mug can be just what you’re searching for. This large ceramic mug was microwave and dishwasher safe, and it features the traditional C-curve handle that we’re all familiar with and like. Printing areas are 3.75′′ high by 3.25′′ in diameter on both the front & back of the mug, & each printed area is 3.75′′ high by 3.25′′ in diameter.
Make A Design For Yourself
Using the Bonfire design tools or another application like Illustrator, you can create your mug design. For those that prefer not to use an external application, you could upload the completed design files in either the.AI,.EPS,.PNG, JPG, or.PDF format to your account. While we strongly encourage you to use vector images when you have them, they’re not required. For the best effects, we recommend that you choose a resolution of at least 1500 x 1500 pixels.
Typographic Designs: How To Make A Mug Template Using Vector Images
How To Make A Mug Template Using Vector Images: Make a fully typographic design to make a statement while keeping your design approach as easy as possible. The use of text-based designs is great if you need to develop your mug design solely within the Bonfire designs tool, or if you do not consider yourself a illustrator and only require a simple but attractive mug.