
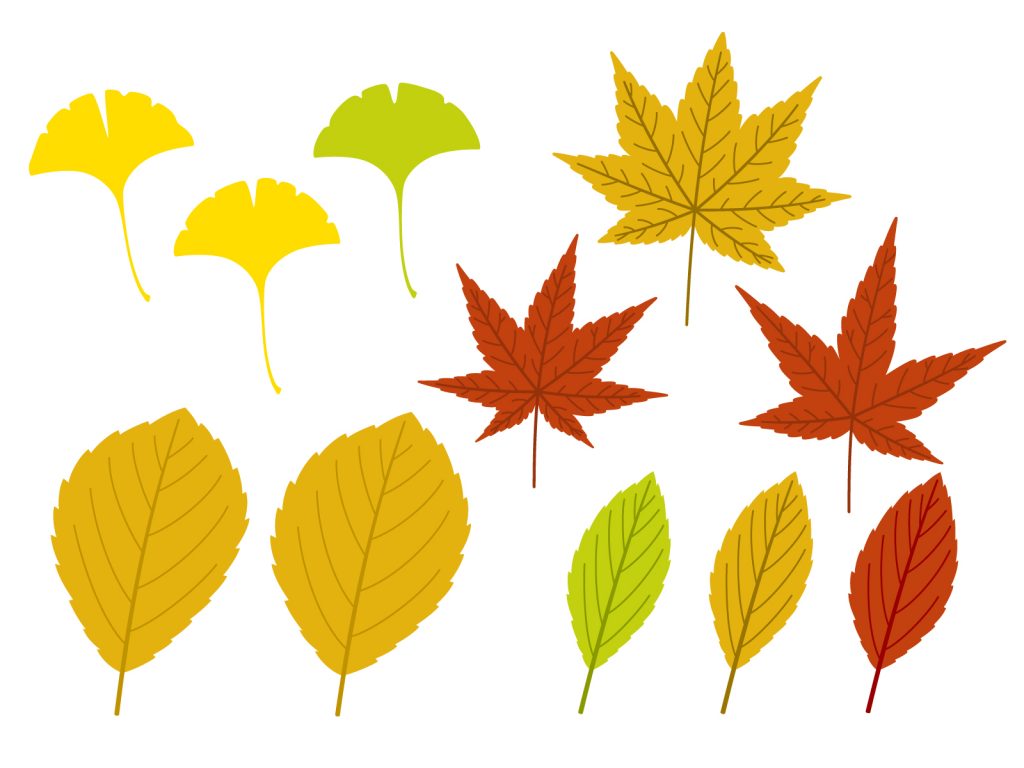
Illustrating leaves vectors can be simple, like recreating a tea leaf (the Camellia Sinensis), while also being very complex such as recreating the monstera plant.
This article aims to provide quick tips on how to realistically illustrate leaves vectors, by detailing the important concepts that are required before and during the illustration of leaves vectors.
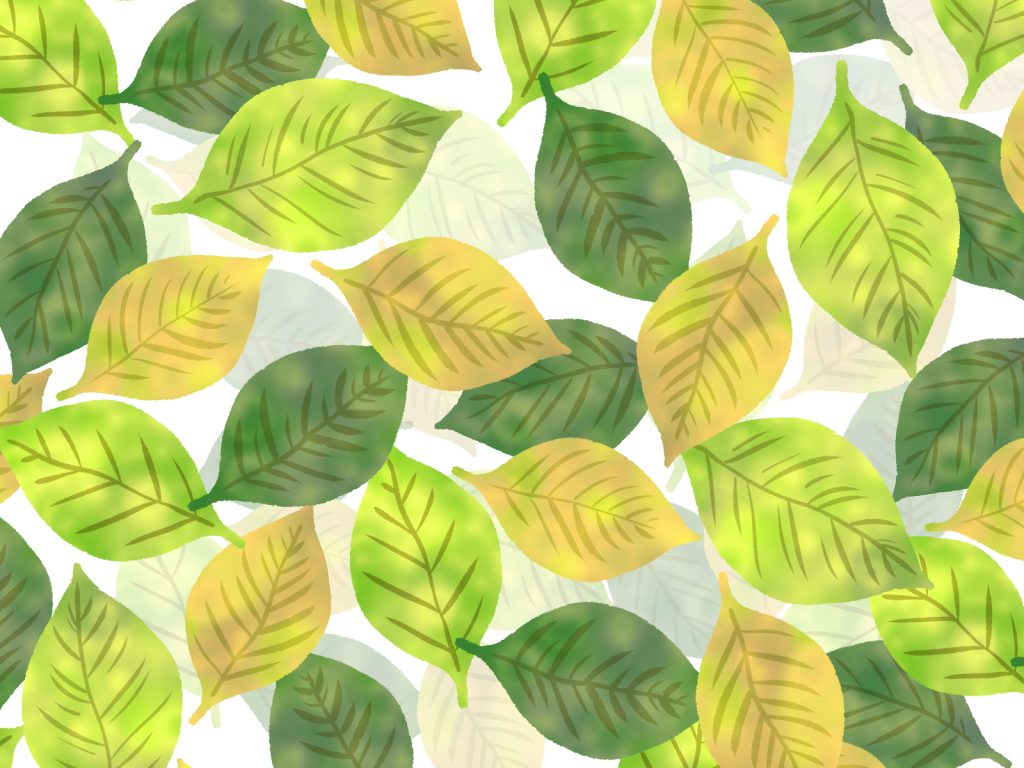
At the end of this article, not only would you have an improved understanding of how to illustrate realistic leaves vectors. You would also be able to get the perfect “green” to use for your leaves vectors.
How to draw leaves vectors
Producing realistic and picturesque leaves vectors through an illustrator starts with the below fundamentals
1. Understanding the detailed structure of a leaf
Five structures make up a leaf, which can be applied to the illustration of leaves vectors, these are:
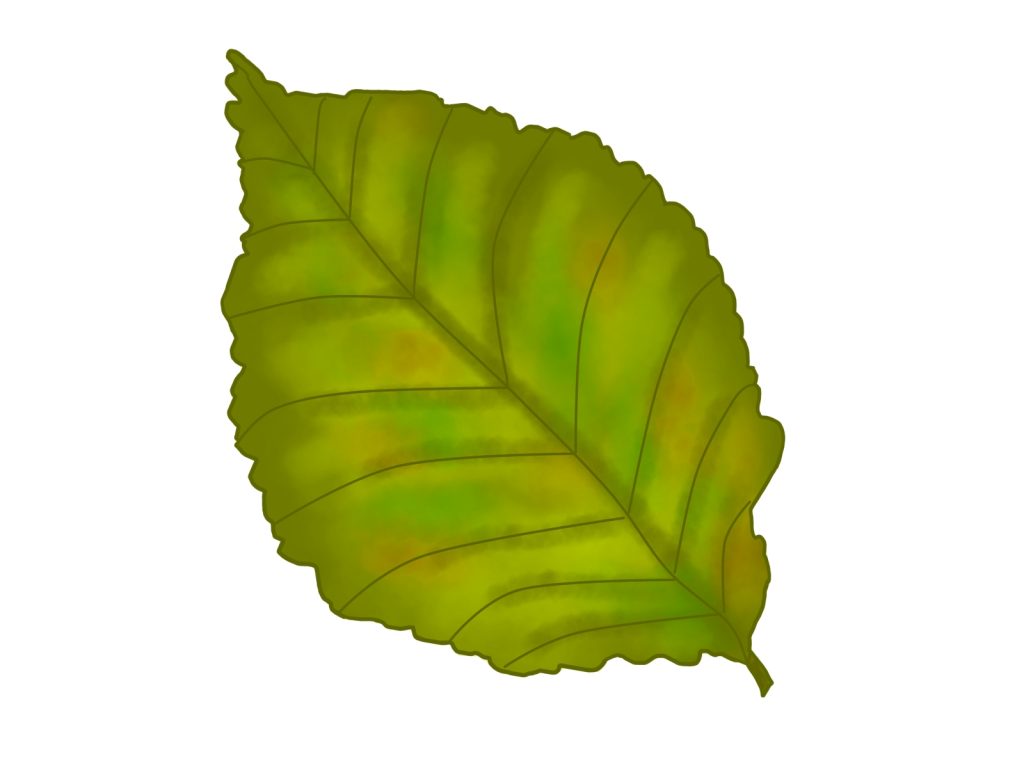
- The leaf stem holds the leaf in place. To produce realistic leaves vectors it is important to reflect a detailed leaf stem. Colors for leaf stem are either brown or the same green as the leaf
- The leaf margin. This is the line that divides the leaf into two.
- The leaf blade. This is the outline of the leaf. Leaf-blades come in various sizes and symmetries. A helpful tip to perfect a leaf outline is to draw a leaf margin and make a half-of-a-heart shape on both sides.
- The leaf veins. To make a realistic leaf vector the outline of the leaf cannot be barren. A detailed inspection of a leaf shows us that it has veins that transmit nutrients from the leaf stem.
- Lastly, the leaf color. Arguably the most important factor to realism. The color goes beyond the saturation and opacity of green. Realistic leaves vectors should include depth and intricate shadows.
2. Carry out reference research
It is easier to illustrate leaves vectors when you have detailed photos that you can use to cross-reference your illustration.
You can build up your knowledge of leaf structures by studying reference pictures. Reference pictures knowledge is useful when carrying out detailed leaves vectors.
Reference pictures can be obtained from botanical magazines to pictures you took from your phone, or even through a quick google search.
Doing this builds familiarity with understanding how to illustrate leaves vectors.
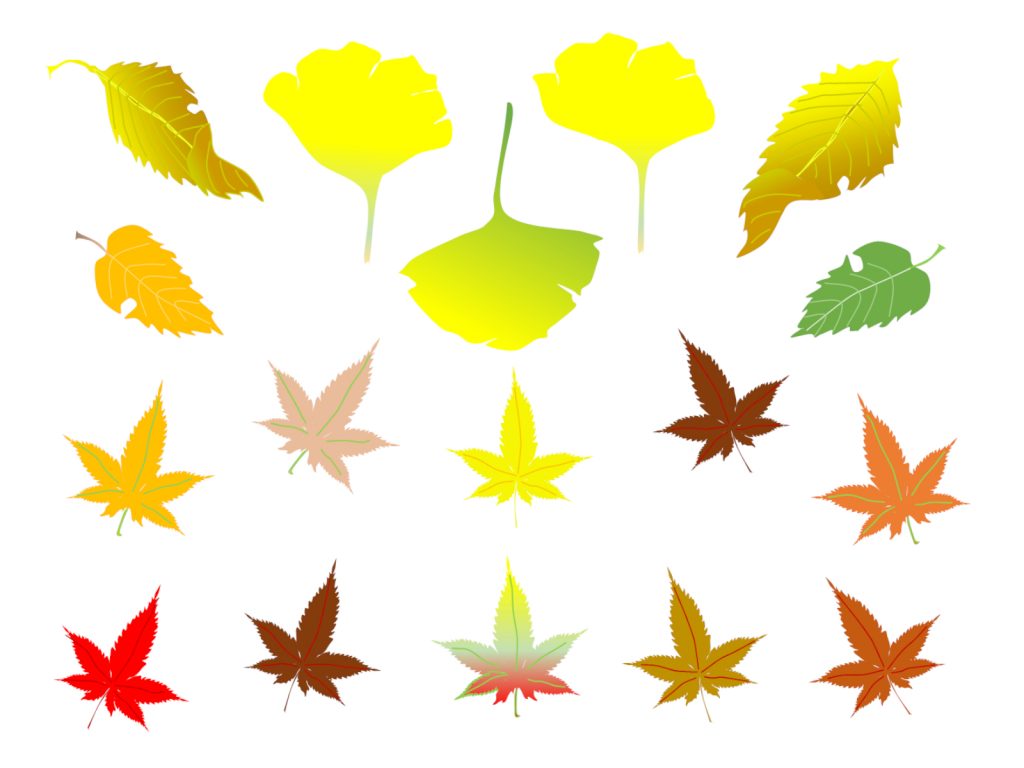
3. Leaves are made of simple shapes

A quick tip to illustrating is to break down all objects into circles and rectangles. A leaf when broken down is an oval that is split into two by a curved line that connects to a thinner rectangle.
But you should also consider that not all leaves are spherical. Some leaves have jagged edges, some leaves are shaped as thin as feathers. However, a simple tip to make leaves vectors realistic regardless of their shape is that both sides of a leaf are bilaterally symmetric. This can be recreated with the reflect tool.
4. Make detailed sketches
You can now transfer the skills you’ve learned from understanding the basic shapes along with studying leaf references to a drawing pad or an illustrator.
Making realistic leaves vectors is a skill that has to be honed, to do that you need to practice detailed sketches of leaves until you are comfortable.
While practicing you can also experiment with depth and perspective through the use of shadows, you should try to make some areas on the surface of your leaf reflect light. These are skills that you would later translate into leaves vectors.
A final touch to illustrating vectors is to keep the outline simple. This can be achieved by tracing over the outline. Tracing over the outline requires precise use of the pen tool. Use the pen tool to create smooth tracing lines. You need to draw with minimum anchor points.
Anchor points can be added and removed by using the “Add Anchor Point” (+) and “Delete Anchor Point” tools, respectively (-). “Convert Anchor Point” (Shift + C) lets you change the anchor points themselves. To produce smoother lines, ensure the anchor point’s handle forms a tangent to the curve (i.e. inner or outer tangent).
Using the pen tool allows for the detailed creation of shapes on the illustrator. The pen tool draws curves and paths and, with the pathfinder features like “Intersect, Unite, subtract, Minus Front,” anchor points become highly adjustable into smooth lines.
When you feel that your sketches are perfect, you can either make an outline on an illustrator which would serve as a reference for the leaves vector. Or you can export a jpeg into the illustrator.
Exporting a jpeg means that you would need to trace over the image to serve as your outline for the leaves vector.
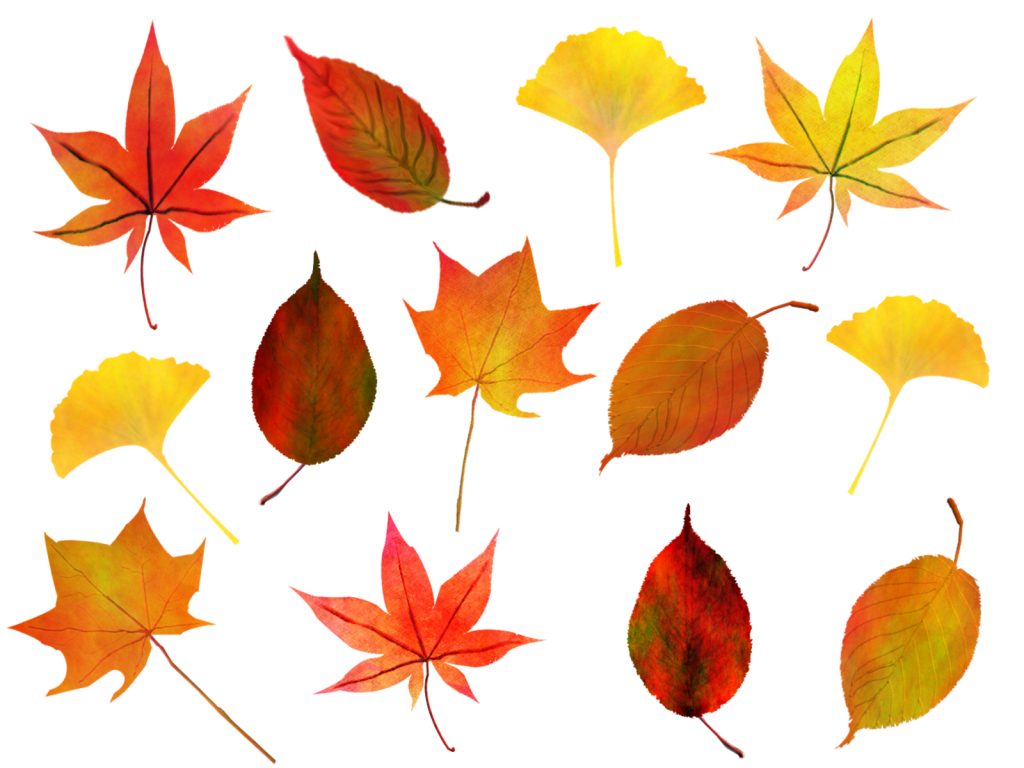
5. The perfect “green” for leaves vectors

An outline is not enough to give leaves vectors that realistic quality. That lies with the color that you pick.
Color is the most important tool when it comes to illustrating and it can be highly demanding because color picking is subjective but it is highly enjoyable.
Color perception recreation on leaves vectors is done through understanding how color behaves in different lighting. Leaves vectors illustration should be done by experimenting through different shades of green, in different opacity and saturation.
An important rule is to make use of vivid green for bright illustrations and use dark green for darker illustrations.
If you are not able to achieve a consistent nature green then you can input the hexadecimal color code for Leaf Green which is #2D5A27, and the RGB color code is (45, 90, 39). According to the HSB/HSV model, the color has a hue of 113°, a brightness of 35%, and a saturation of 57 %. Leaf Green’s CMYK values are C:50 M:0 Y:57 K:65.
Leaf Green has the RAL Classic color code 6002 and is found on the RAL Classic color palette. Use hex, RGB, HSB, or CMYK color values in HTML and CSS.
To convey a more realistic feel to leaves vectors here are other attributes to consider along with the color of the leaves vectors.
- Gradients,
- Gradient mesh tool,
- Highlighting the edge,
- Reflections,
- And shadows.
Gradients
Because leaves are never one particular shade of green, the radial gradient tool can be used to achieve a more realistic leaves vector.
The radial gradient is suited for oval shapes like leaves. This tool is the best way to mimic realistic light sources.
As the radial gradient allows the mimicking of a light source that highlights the outline leaves vectors.; Radial gradient produces the illusion of light hitting an object.
When using a radial gradient, place the gradient either diagonally or vertically, and make the saturation levels of both corners are in different saturation. This would give the leaves vectors outline dynamic lighting.
Gradients also stimulate shape and depth aside from creating highlights and shadows. To make realistic vector leaves you should experiment with the radial gradient, dark colors produce shade and shadows, while lighter colors produce light highlights bouncing off an object.
Gradient Mesh Tool
The gradient mesh tool comes in very handy to produce realistic leaves vectors, it allows you to illustrate in complex ways.
The regular radial gradient, while great, is vastly improved upon when using the gradient mesh tool.
It allows for you to go into more detail highlighting key aspects of your outlined leaves vectors and it leads to individually highlighting where the light catches the object. You can create a gradient that outlines the leaves vectors, with the gradient mesh
It allows you to add editable points to the leaves vectors and apply solid colors to those areas to simulate realism. However note that narrower, less complex mesh components redraw faster and are easier to edit than large mesh components.
A realistic illustration of leaves vectors is composed of tiny well-integrated details to achieve such an effect the gradient mesh tool is needed to showcase colors leading to beautiful results.
Highlighting of the Edges
After perfect application of both the radial gradients and gradient mesh tool, your outlined leaves vectors are ready to be highlighted.
The highlighting of the edges emphasizes the shape of the outline. Make use of the pen tool to highlight the edges.
Reflections

Illustrating and conveying realism of leaves vectors involves recreating a 3D image on a 2D platform. To produce picturesque realism, perfectly capture the details of light and dark shade by making use of reflections.
Light source reflection comes in different forms. However, when illustrating, ensure that the reflections follow the outlined leaves vectors. You can master how to reflect reflections in your illustration through the pen tool.
Examine your reference image to notice how the light source casts varying reflections and shadows. Striving for realistic leaves vectors depends on careful detailing of the lightning pattern.
And the best way to interpret lighting patterns is through observation. A helpful tip is, rather than concentrating on a single light source, interpret it in a variety of ways into the illustrator by using a varying opacity of the original green used for the outlined leaves vectors.
Reflections add needed depth to the illustration and when you recreate the right reflections with added color combinations in the right places, you mimic the surface area to look like the leaves vectors.
The result produces a nice illustration, especially if you are illustrating leaves with a dewy surface. A well-implemented reflection gives the outline a glossy surface.
The Final Touch: Shadows
The final touch of realism is shadows. Shadows complement the highlights and the gradients are and are needed to provide the necessary depth to your leaves vectors.
The absence of shadows would make the leaves vectors incomplete. To create a shadow effect, you needed to create a slight outline opposite to where the light source hits the image.

Shadows should be made with simple shapes, such as ellipses and rectangles. This gives the leaves vectors more depth and realism. Understanding that every shadow is a separate section of the drawing will assist you in learning how to create texture within them.
The thickness of the shadow is determined by the distance between the light source and the object. The sun, for example, when overhead would cast shadows parallel to the object, while artificial light sources vary in how they project shadows.
Shadows have to be projected with a soft light. You can create a shadow either through the drop shadow tool or by outlining the image slightly and using a 60% opacity of the reference image to color through. This will cause the shadow to nicely transition into leaves vectors.
Following these five details/attributes is necessary to make leaves vectors realistic. However, it is important to not make your illustration over-detailed. In illustrating your most important ally is how to project the light, it allows you to breathe depth to various parts of the illustration.
Summary
The fundamentals of realistic vectors are not that different from drawing realistic images on paper. To recreate realistic leaves vectors, take detailed pictures to make leaves vectors or use detailed pictures of leaves and use these references to recreate an outline in an illustrator. Begin with simple but detailed sketches by adding a perspective effect and choosing the perfect shade of green for the leaves. Ensure there is enough contrast to highlight the different hues of green. And mimic depth through the addition of shadows. These would allow for your leaves vectors to look realistic.
When making realistic images, it is important not to miss the little details. To accomplish this, the leaves vectors illustration needs to portray everything from the original reference. Because if you leave out key features like hue, contrast, shadows/shading, it would comprise the quality of your illustration.
Making realistic illustrations is difficult, as realism requires no room for error. These realistic leaves vectors are not something that can be learned in a single day. Coming into an illustration with this understanding would allow you to strive for progress. It does not mean realist leaves vectors are impossible, however, it requires high details.
For many people, this makes creating a realistic illustration difficult. So overlook nothing when making a realistic illustration. Use the reference image in High Definition and go back and forth to compare both. Ensuring your leaves vectors are very detailed.

I hope that these detailed steps help to improve your skills in illustrating realistic leaves vectors. However, to master a skill, it is important to practice and improve, till you get comfortable in illustrating leaves vectors. Remember to repeat the steps in order to achieve the best results.
I hope you had fun following along with this step-by-step tutorial on how to illustrate leaves vectors.
If you have questions about this tutorial or any requests for illustration tutorials you’d like to see in the future, please comment below!
We love seeing what you’re creating! Share your leaves vectors drawings on social media with us.
If you are looking to find vector illustrations, you can find them on illustAC. On illustAC, you can find a variety of leaf vectors with distinctive designs, vibrant colors, and leaves in a variety of shapes and sizes. Our vectors store is a paradise for illustrators looking for the best leaves vectors for their work.


