As an artist, have you ever heard the word moe or moé before? In this article, we will share brief information about the moe art style and step-by-step guides to start creating Moe art for beginners.
What is Moe and Moe Art Style?
Moe is a word, which is supposed to be originated from the Japanese language in the late 1980s and early 1990s, refers to the fondness and fascination of otakus to characters in videos games, manga, anime, or other media. These characters, mainly girls and females, have cute, pure, sometimes truly sexy appearances, but the same as nonfictional characters – they are not real.
As a kingdom of anime and manga, Moe characters are very popular in Japan, both in art and in commercials. You can easily find a Moe character anywhere in this country, from the cover of magazines or comic books in convenient stores or bookstores to posters and banners along the streets.
Actually, Moe art is not only well-known in the Land of Rising Sun, but it’s also popular anywhere the otaku market is directed towards.
Moe characters don’t need to be girls or females. They can be any subjects that evoke feelings of adoration and affection.
Common Moe Art Style Characters and Related Styles
There are some typical moe characters that you often see.
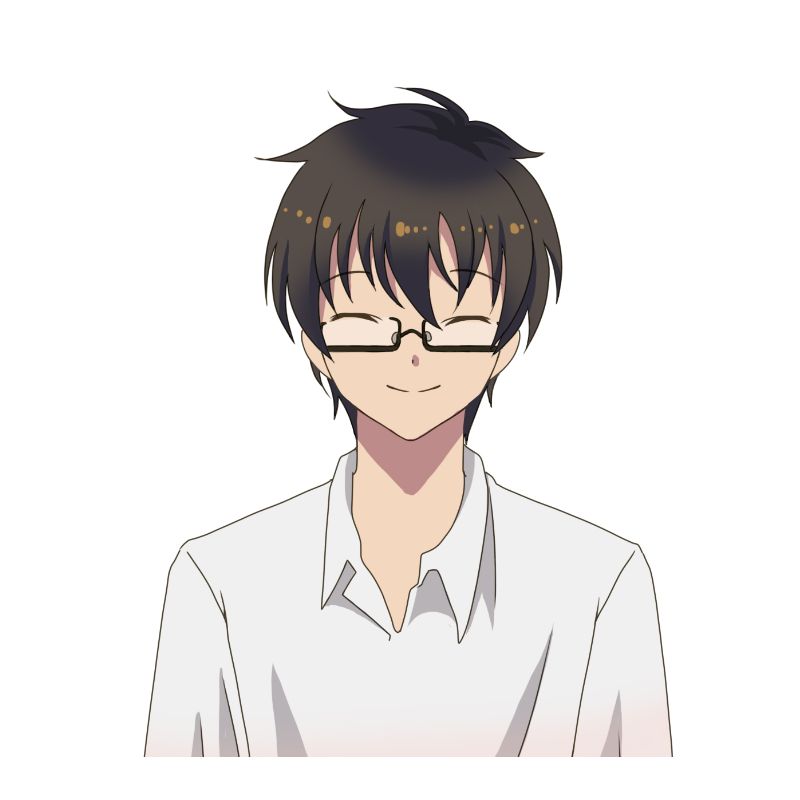
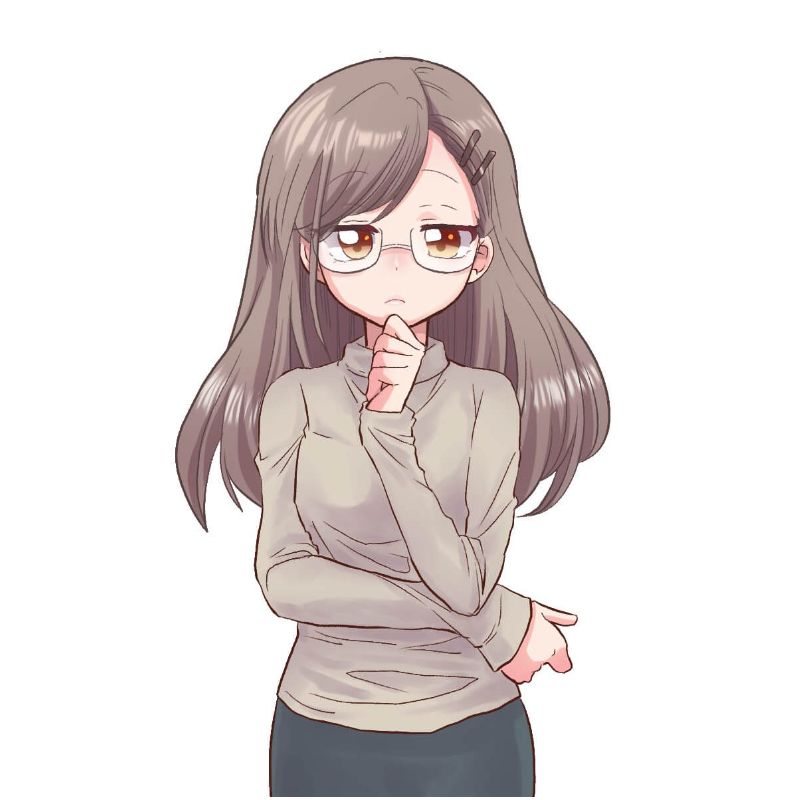
- Myopic characters: always wearing glasses, look nerdy but cutie
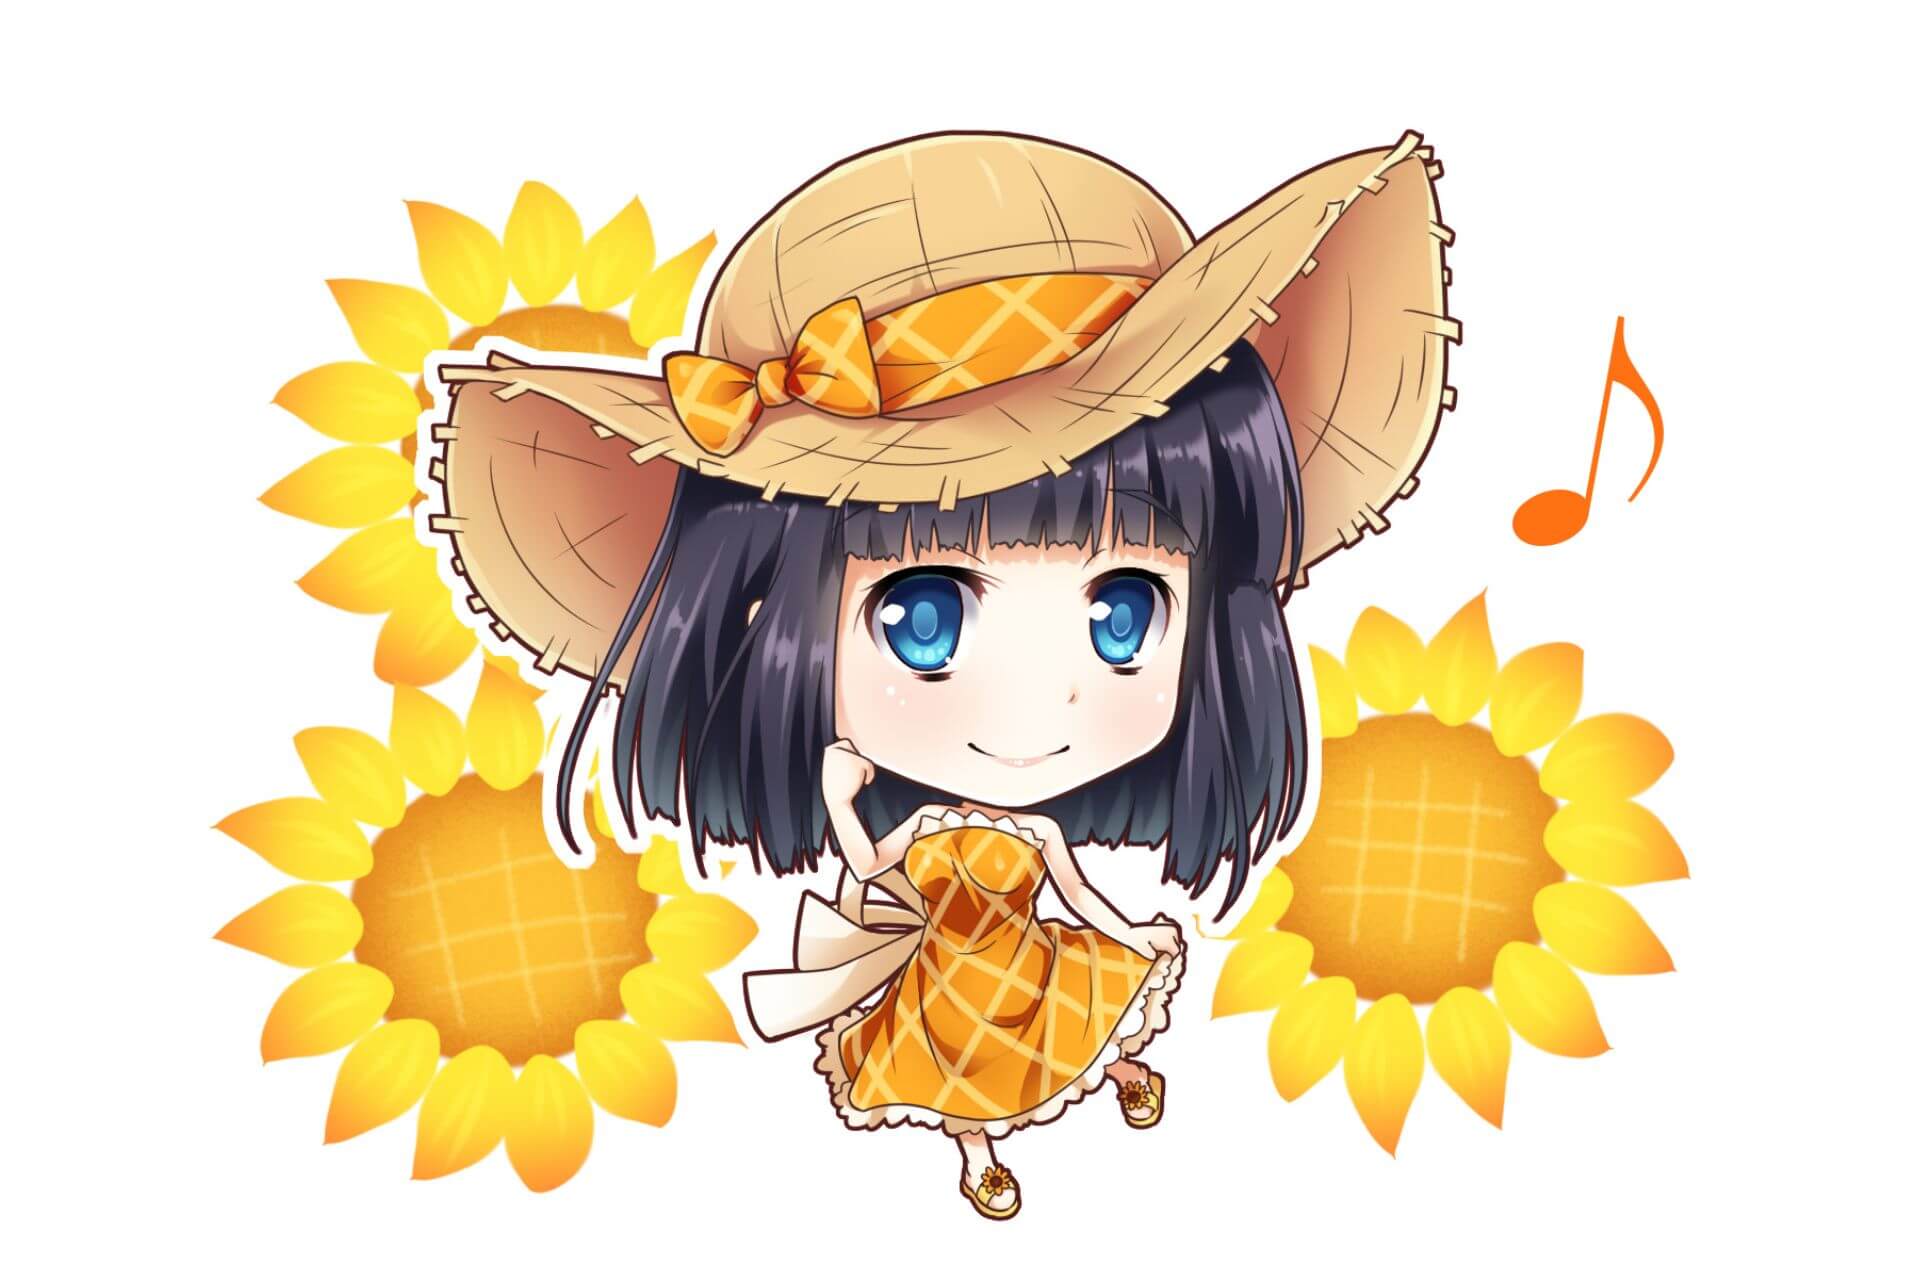
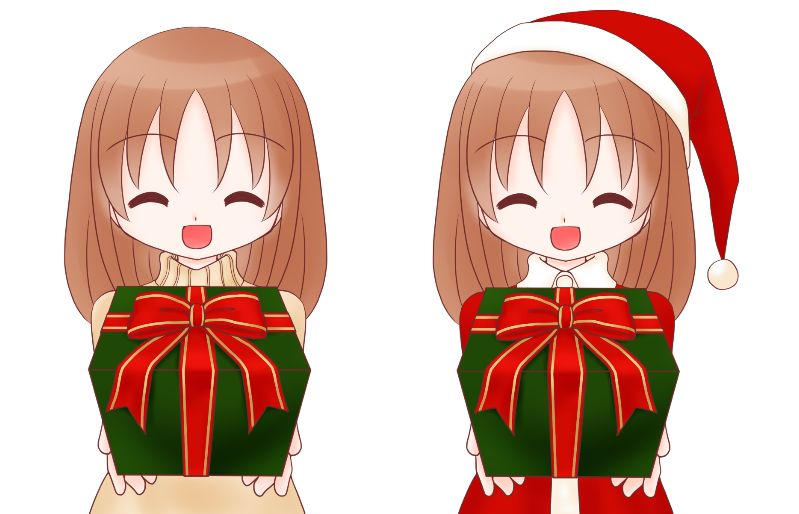
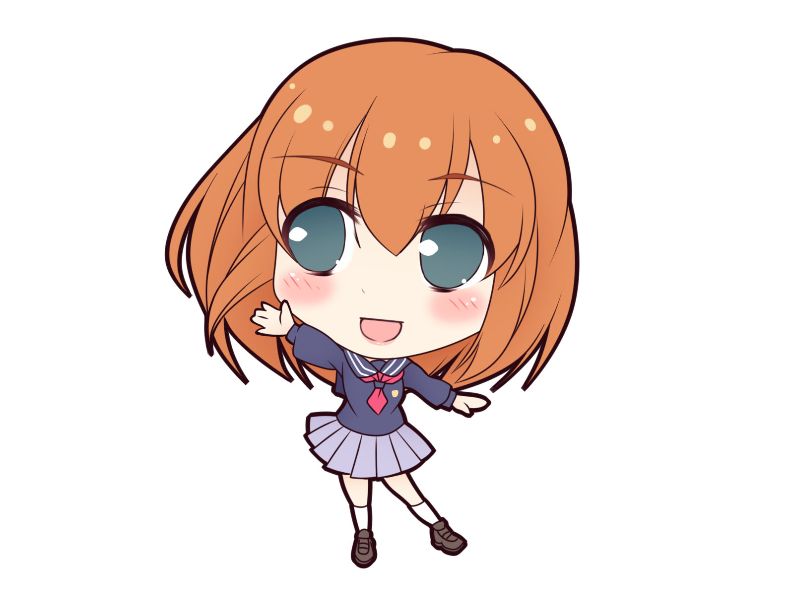
- Super cute and short characters: sometimes in a mix with chibi or super-deformed style

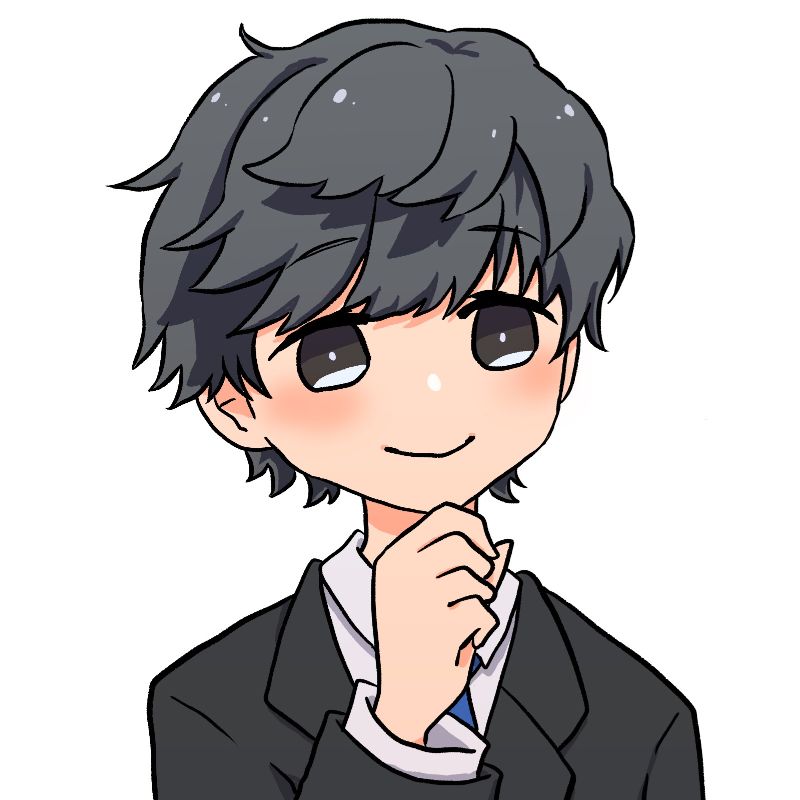
- Tsundere characters: who have cold and uncaring appearances but are truly kind to the ones they love.

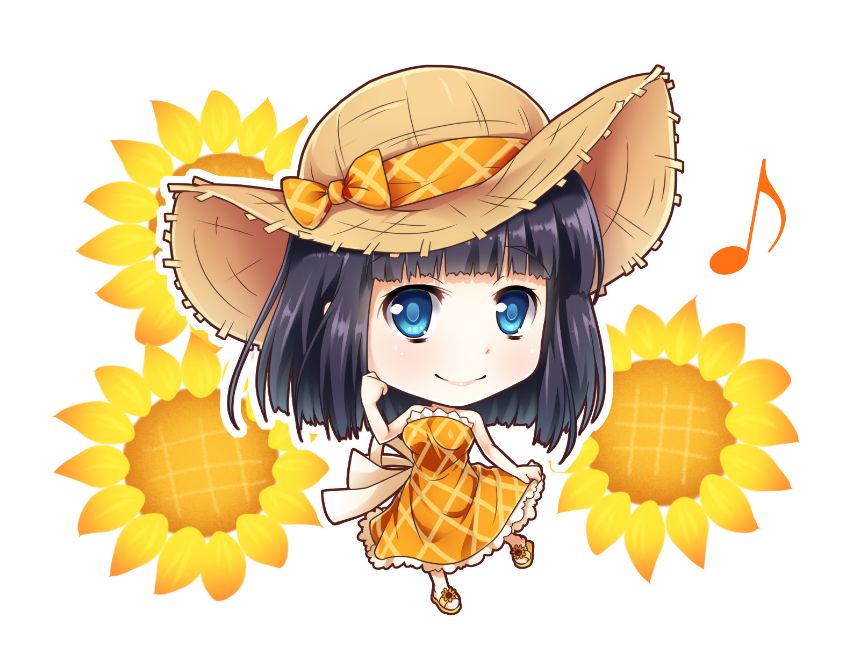
- Shy characters: as the name, they are kind of introverts.

There are some other terms that you might be confused with the Moe art style.
- Kawaii: in Japanese kawaii means cute. So anything that’s cute can be called kawaii, from animals, things to human characters.

- Chibi: or super-deformed style.
The term is widely used to describe a specific style of caricature where characters are drawn in an exaggerated way: small and chubby, with stubby limbs and oversized heads. (- Wikipedia)
How to draw a Moe character?
You are aspiring to be the next famous manga artist but you don’t know where to start from? Don’t worry! Read on to get a general picture of how to practice the Moe art style from the scratch.
Moe figures have four distinct drawing points that need covering:
- Faces and facial expressions
- Dimensions
- Positions
- Styles
But before focusing on these four points, you should start with an idea first. What kind of characters do you want to build up: ditzy, nearsighted and shy, or cool but kind?
There are a variety of inspirations, new styles, and options available to properly create your character. If it comes to drawing manga, you have the option to participate in a broad style with a rich heritage and several subgenres in which to express yourself.
When starting to sketch a character, it’s vital to work from an initial notion, just as it is with any other type of character creation. It may take several sketches, revisions, or even postures to finalize a character concept. Taking the time to fine-tune your character can help you achieve the correct balance of style and story in your picture. The key to character sketching is to use the subject’s stance and personal features to convey as much information as possible at first look.
Step 1: Brainstormed
Character brainstorming may take numerous forms, such as locating references, inspiration, and learning about your character. The more familiar you are with the character, the better you will be able to express them aesthetically. This is one reason why creating fan art might be a lot easier to begin started with than sketching original characters. Those you depict in fan art already have a narrative, stance, and style from which to draw. If you want to create an original character, you’ll need to decide on all of these characteristics.
- How does your character stand? What is your fitness level and general style?
- Is their hair properly coiffed in the morning, or is it a little unkempt?
- What type of garments do they put on?
- What do they usually do? It’s a good idea to show the character doing the thing that characterizes them the most.
Step 2: Draw an outline
After you’ve figured out who your character is, you can start thinking about your composition. The simplest approach to get started is to draw a couple of distinct wireframes for your character. This is an excellent time to play around with postures, movement, and flow.
Check that your wireframe and silhouette are exactly how you want them. You may get off to a strong start if you start in good form.
One frequent method for creating wireframes is to use circles for main characteristics such as the head, elbows, hands, feet, and knees. For the torso, use a square and an inverted triangle for the pelvis.
By displaying this wireframe in three dimensions, you can and should quickly enhance your look. This means that you should use low-detail spheres when designing circles.
Try not to sketch your character in a head-on position from the front. Begin by drawing them from a three-quarter perspective. It will make this easier to convey dimension and dynamics.
Step 3: Focus on Proportions
Choose your preferred wireframe concepts and start adjusting the dimensions. You will be adjusting the form and proportions of the shapes used to depict bodily components in this stage. If you’re unsure about the form of specific body parts, don’t be afraid to use a photo as a guide.
Please remember that the use of basic forms in your initial design symbolizes aspects of your character. A figure with a square-shaped head, for example, will have a different tone than one with a round or triangular head.
Make changes to your wireframe based on the character. A stronger character will have a larger frame, whereas a weaker character will have a thinner, smaller, or more elongated frame.
In this frame, you can also tell a male figure from a female character. A feminine character will have narrower shoulders and larger hips. A masculine character, on the other hand, will have narrower hips and bigger shoulders.
Manga characters have a tendency to mix proportions, depending on the manga style you’re aiming for. Many manga styles, for example, depict characters with extended legs as compared to actual anatomy.
Step 4: Create a skin layer by outlining the shapes
Precise drawings are essential for most manga artwork. This is a great idea to draw an outline for your skin layer now. This isn’t the final outline or detail layer. It is there as a reference to recap all of your previous work and anatomy.
The skin layer will clean up your design and provide you with a basic form to draw details on in the next phases. Try to keep the three-dimensional aesthetic you established in the wireframe as much as possible.
Step 5: Facial proportions should be drawn
The basic face in the manga is illustrated with a sphere linked to a cone. Draw a line that bends around the front of the sphere one-third of the way up from the bottom. This is going to be your brow line.
Draw a line of symmetry that arcs vertically along the front of the face to show where the eyes will go. Remember that this will most likely not be in the straight center of your face sphere. This line will be closer to one side if you’re sketching from a three-quarter view. Draw a circle on either side of the symmetry line with the horizontal line.
Keep in mind that manga eyes are abnormally huge. Because the form of your eyes is a crucial component of defining your character, lightly detail them. Eyes that droop slightly to the outer look more gentle, whereas eyes that pull at the inner corners appear more hostile.
Then, near the bottom of the sphere, where it connects with the cone, draw a little circle. This circle represents the location of the nose’s bottom. Unless the character is supposed to have a unique nose, the form of the nose in most manga art will be basic, employing a single curve or line.
Step 6: Include clothing, decor, and hair
Draw in your character’s outfit using your skin layer outline as a reference. To produce a dynamic image, keep in mind that these garments should move with the character in their position. Try to be creative with these garments because they will help to add intrigue and depict your character’s tale.
Draw the hair in the shape you want it to be. This may be larger than life in manga art to make your figure as lively as possible. Remember that the hair form, like the rest of the figure, should look to move. You may also utilize the hair to provide direction.
Step 7: Clean up your outlines and ink your drawing
Make a very clean inking layer of your new shapes, garments, and visible flesh. Fine line details include large folds in garments, prominent face characteristics, and patterns. Anything in the image’s foreground should have a somewhat thicker outline than anything in the background. Similarly, employ line width to direct the viewer’s attention to the most significant aspects of the image. While you want to keep this final layout as simple as possible, don’t leave out any vital elements.
Step 8: Perfect the shading and color
The picture can now be painted or shaded in black and white. Make a mental note of the location of the light source as you indicate shade. To make your drawing more lifelike, try to maintain the shading accurately. If you’re having difficulties imagining where the light and shadows will fall, a photo reference might come in handy. Avoid using black for shading if you’re working in color. Instead, use a darker rendition of how the hue appears in the light.
Step 9: You can now pay attention to details
The manga graphic style contrasts sections of limited detail with parts of great detail. Most of the time, the face and skin will be more minimalistic, enabling all of the attention to be placed on the eyes.
Choose the regions of focused information that best depict your character’s story. This will assist your character to be as expressive as possible.
Step 10: Share your work with other
You might know that sharing is the best way to learn. When you share your work and ask for feedback from other talents in the field, you will see better what you need to practice more and find different ways to improve your skills.
Becoming an expert requires a lot of time and effort. Keep patient, practice always, and find fun along the way.